
- Istio an introduction
- Getting started with Istio
- Istio in Practice – Ingress Gateway
- Istio in Practice – Routing with VirtualService
- Istio out of the box: Kiali, Grafana & Jaeger
- A/B Testing – DestinationRules in Practice
- Shadowing – VirtualServices in Practice
- Canary Deployments with Istio
- Timeouts, Retries and CircuitBreakers with Istio
- Authentication in Istio
- Authorization in Istio
- Istio series Summary
I would have never believed that I would be excited about Authentication and Authorization. What on the technological spectrum could Istio possibly do to make me excited about these dreadful topics, and more importantly why should it excite you as well?
Because, Istio takes these responsibilities from our services and offloads them to the Envoy Proxies, which means that by the time when requests reach our services they are already authenticated and authorized, and we just write the code that provides business value.
Let’s just jump into it!
Authentication with Auth0
As an Identity and Access Management server, we are going to use Auth0, which has a trial option, is intuitive to use, and I just love it! That said the same principles can be used for any OpenID Connect implementation like KeyCloak, IdentityServer and many more.
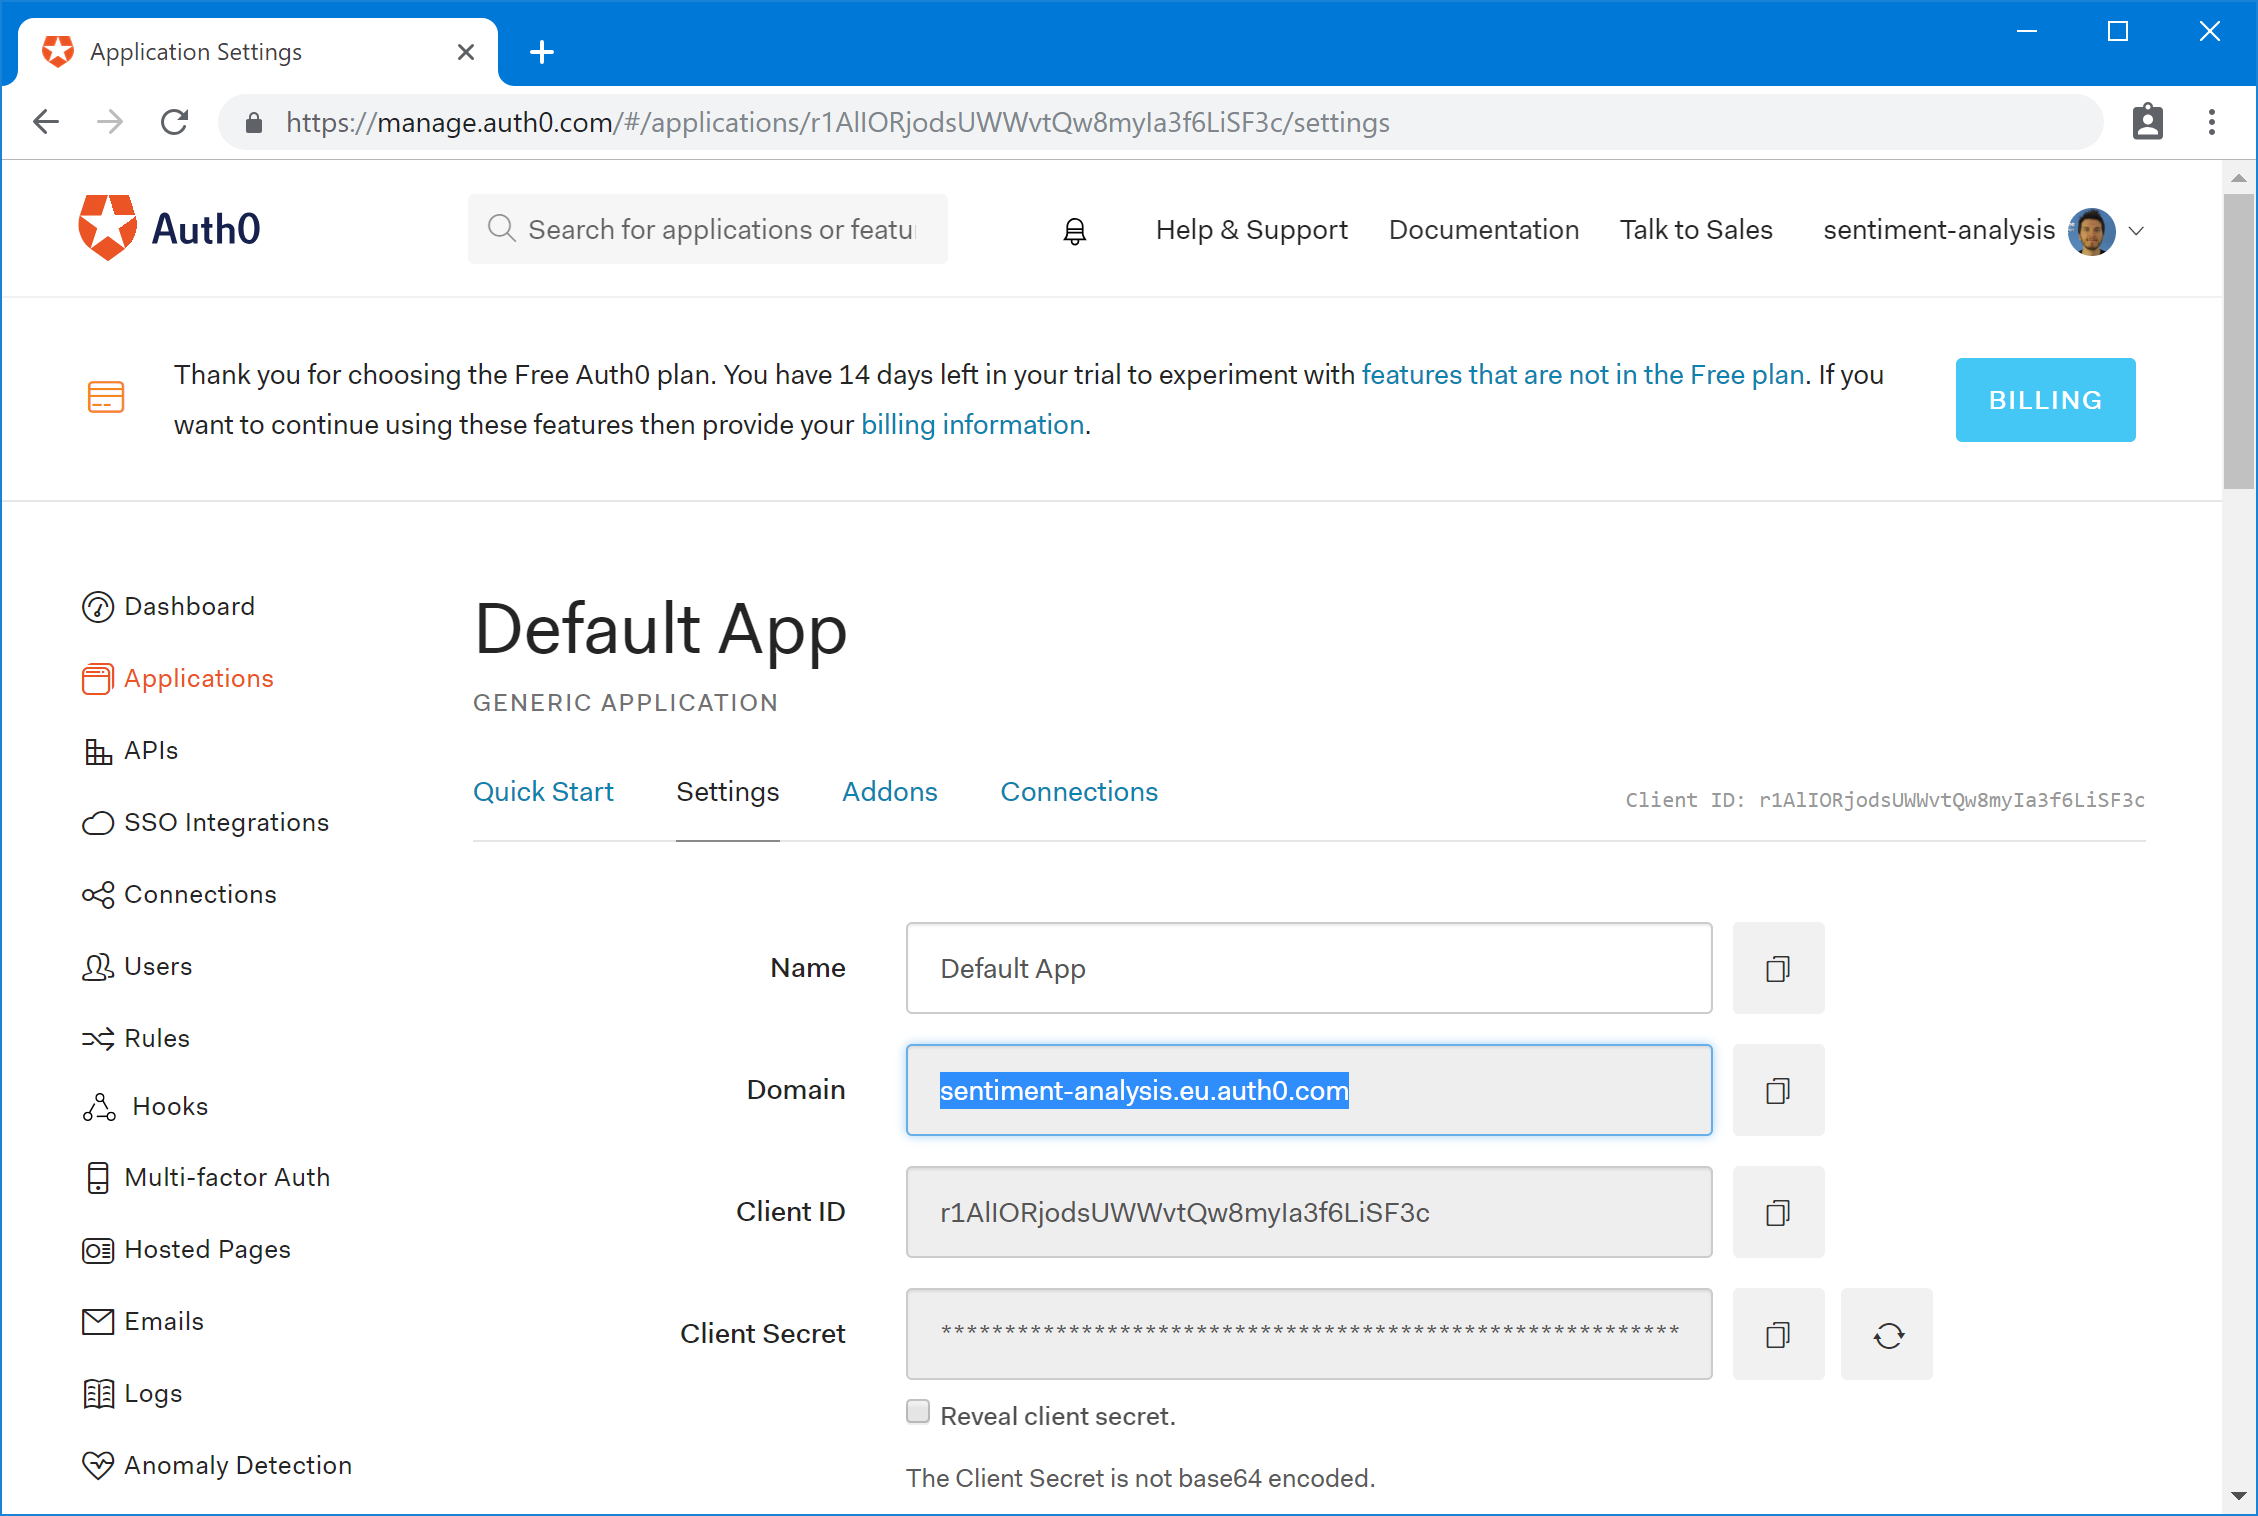
To get started, navigate to Auth0 Portal login with your preferred account, create a tenant navigate under Applications > Default App and pick up the Domain, as seen in the image below:
Update the file resource-manifests/istio/security/auth-policy.yaml to use your domain:
With this resource, the pilot configures the envoys to authenticate requests before forwarding them to the services: sa-web-app and sa-feedback. At the same time, this is not applied to the envoys of the service sa-frontend enabling us to get the frontend unauthenticated. To apply the Policy, execute the command:
$ kubectl apply -f resource-manifests/istio/security/auth-policy.yaml
policy.authentication.istio.io "auth-policy" created
Go back to the page and make a request, you will see that it will end in 401 Unauthorized, now let’s forward users from the frontend to authenticate with Auth0.
Authenticating Requests with Auth0
To Authenticate requests of an End User we need to create an API in Auth0 that represents the authenticated services namely: reviews, details, and ratings. To create an API, navigate to Auth0 Portal > APIs > Create API, as seen in figure 2.

The important information here is the Identifier later used in the script as:
- Audience: {YOUR_AUDIENCE}
And the rest of the needed details are under Applications in the Auth0 Portal and then select the Test Application created automatically with the same name as the API.
Here note down:
- Domain: {YOUR_DOMAIN}
- Client Id: {YOUR_CLIENT_ID}
Scroll down in the Test Application to the Allowed Callback URLs text field, where we specify the URL where the call should be forwarded after the Authentication is completed, in our case it is:
http://{EXTERNAL_IP}/callback
Add for the Allowed Logout URLs add the following URL:
http://{EXTERNAL_IP}/logout
Let’s move over to the frontend.
Updating the Frontend
Switch to the branch auth0 of the repository. In this branch the frontend contains code changes to forward users to Auth0 for authentication and uses the JWT Token in requests to the other services as shown below:
To update the frontend to use your tenant’s details navigate to the file sa-frontend/src/services/Auth.js and replace the following values, with the ones we noted down earlier:
The application is ready, specify your docker user id in the command below and then build and deploy the changes:
$ docker build -f sa-frontend/Dockerfile \
    -t {DOCKER_USER_ID}/sentiment-analysis-frontend:istio-auth0 sa-frontend

$ docker push {DOCKER_USER_ID}/sentiment-analysis-frontend:istio-auth0

$ kubectl set image deployment/sa-frontend \
    sa-frontend={DOCKER_USER_ID}/sentiment-analysis-frontend:istio-auth0
Give the app a try! You will be forwarded to Auth0 where you have to log in (or register) and are forwarded back to the page and can make Authenticated Requests. Meanwhile, if you try the earlier curl commands you will get a 401 Status Code indicating that the request was Unauthorized.
Let’s go one step further and authorize requests.
If you enjoyed the article, please share and comment below!